Cube robot papercraft
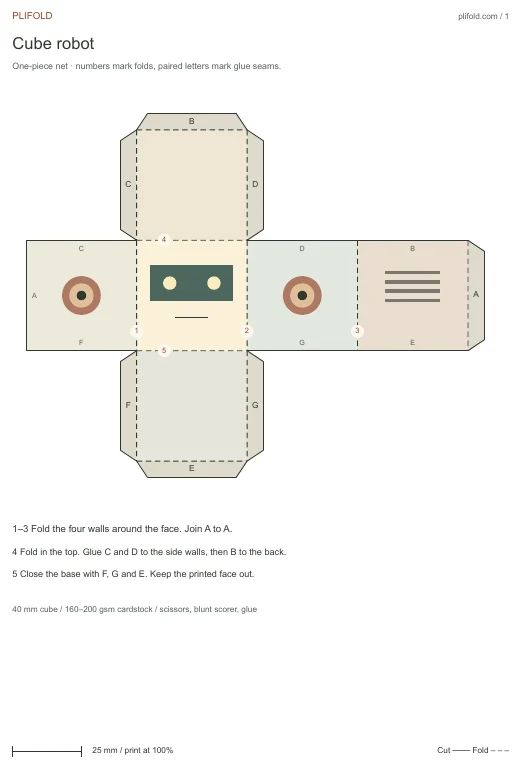
Build a 40 mm robot from one sheet of cardstock. Its face, side dials and back vents all fit on a single cube net.
Choose a model to cut, a mask to fit or a flower to roll from paper strips. Print the A4 or US Letter edition at actual size. Each project lists the paper and measurements for the piece you see.
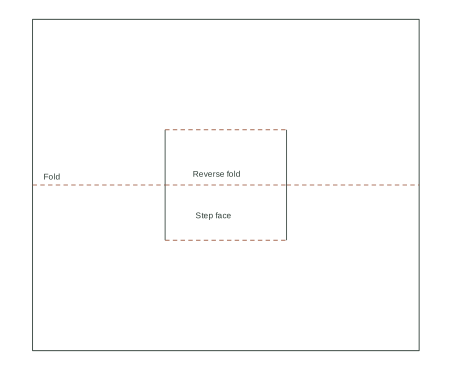
Make one 44 mm wide step that projects 20 mm from the spine. Add a small drawing to its upright face.
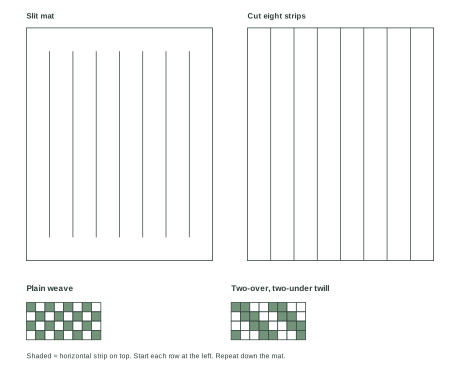
Cut one mat and eight strips. Try a checkerboard first, then slide the strips out and weave a diagonal twill.
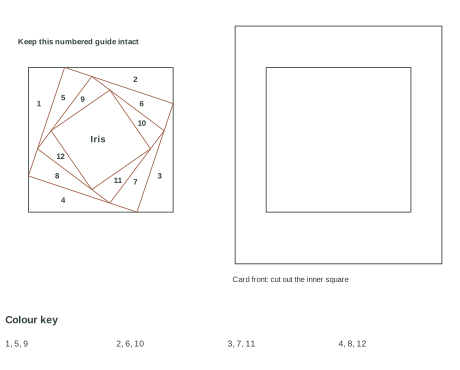
Twelve numbered folded strips spiral around one square window. Four colours make the sequence easy to follow.
Choose a small, smooth bowl that widens toward the rim. Turn it upside down and cover it with plastic wrap. Tear thin scrap paper into narrow strips. Brush on a little diluted PVA craft glue and lay the strips over the curve, overlapping their edges. Change the strip direction with each layer so the seams fall in different places.
After about three layers, leave the shell on its mould until it holds its shape. Lift it off with the wrap and peel the wrap away gently. Let the inside dry completely before trimming or painting the rim. Use the finished dish for dry keepsakes. For a classroom version with process photos, see the Longwood Center for the Visual Arts activity sheet (PDF).
Choose the papercraft animals collection for a numbered profile such as a fox or sea turtle. The 3D papercraft guide compares sheet construction, finished depth and the order in which a solid closes. Begin with the cube robot for straight seams or a whale for a long curved profile.
Measure the scale bar with a ruler before cutting. For six blank faces, download the printable cube net. The cube robot folds from one net. A silhouette model uses matching plates and a strip around its edge. Score the short panels while the strip is still part of the sheet.
Build a 40 mm robot from one sheet of cardstock. Its face, side dials and back vents all fit on a single cube net.
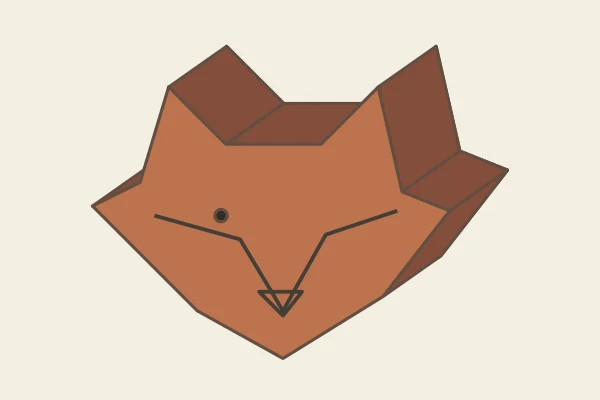
Make a red fox in folded cardstock. Pinch the two ear tips before bringing the cheek panels down to the pointed muzzle.
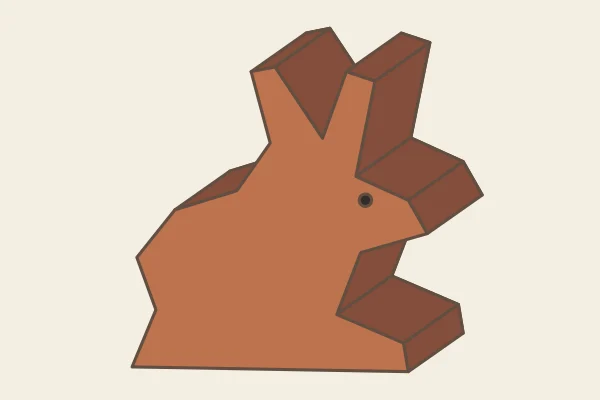
Make a sitting hare in folded cardstock. Work the narrow gap between the ears while the back is still open. The long front foot makes the base.
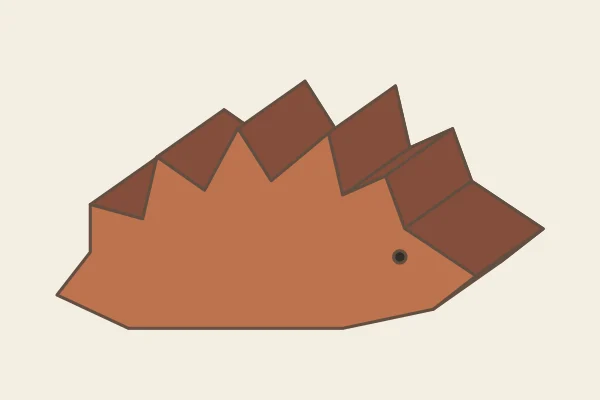
Make a hedgehog in folded cardstock. Dry-fit the sawtooth back from rump to nose. Alternate outward and inward scores at each spine.
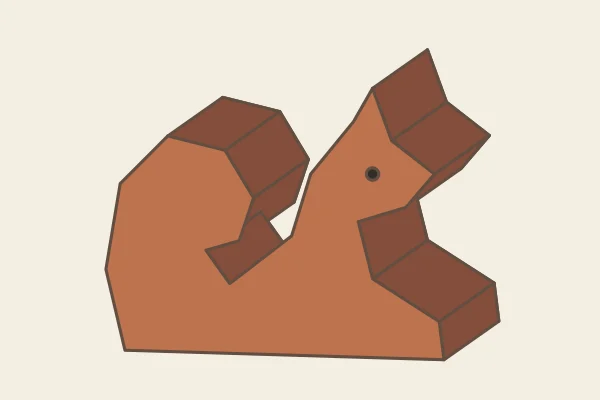
Make a squirrel with a curled tail in folded cardstock. Bend the tail band into its return curve before you glue the shoulder. The small notch separates tail and back.
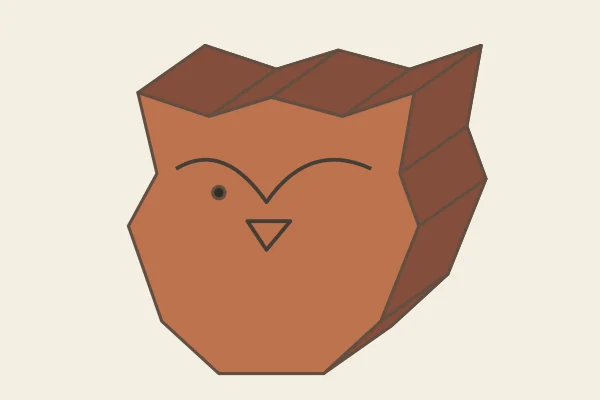
Make a barn owl in folded cardstock. Match both brow corners first. The broad lower edge lets the finished owl stand upright.
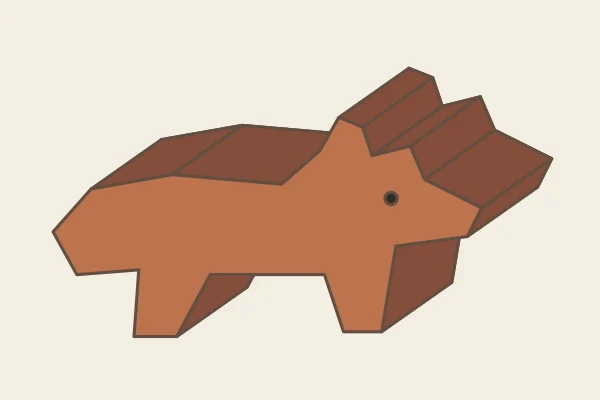
Make a walking bear in folded cardstock. Close the strips above the feet before fixing the long belly panel. Both feet should touch a flat surface.
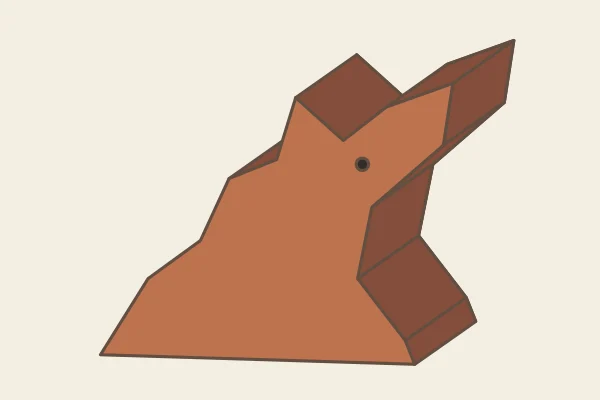
Make a howling wolf in folded cardstock. Keep the raised muzzle angled above the throat. Close the base last so you can reach behind the jaw.
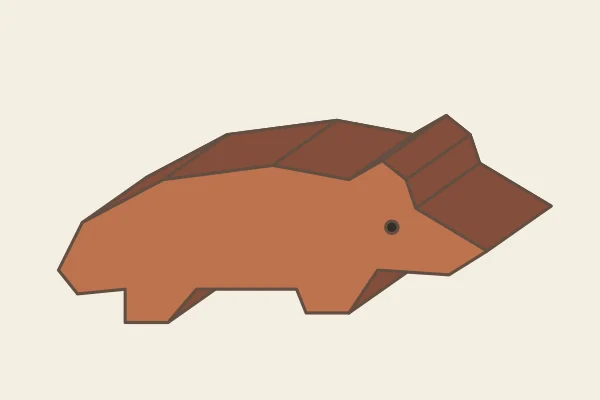
Make a badger in folded cardstock. Start along the sloped snout. Keep the short feet level when the long back closes.
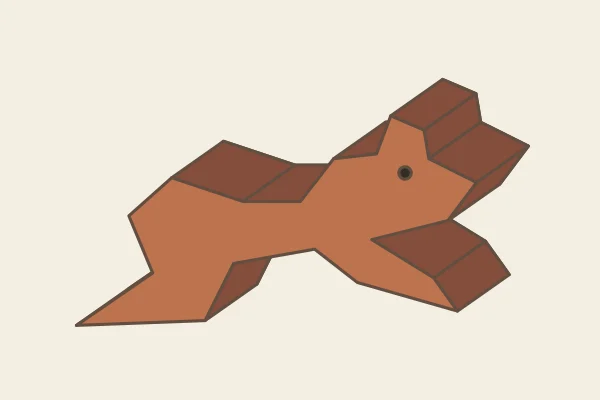
Make a leaping frog in folded cardstock. Leave the long rear-leg panel loose until the tucked knee fits. Do the narrow forefoot last.
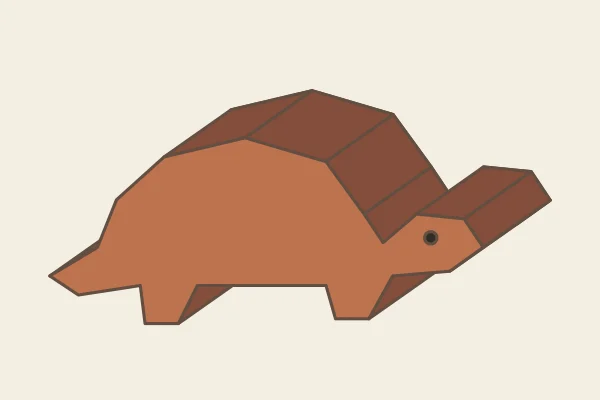
Make a tortoise in folded cardstock. Form the dome in short sections. Keep the head tab inside the neck so the shell rim stays visible.
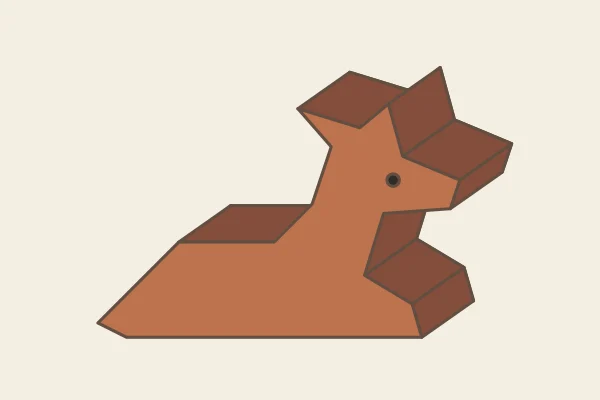
Make a resting fawn in folded cardstock. Shape the shallow ear notch before joining the neck. The long resting flank is the closing edge.
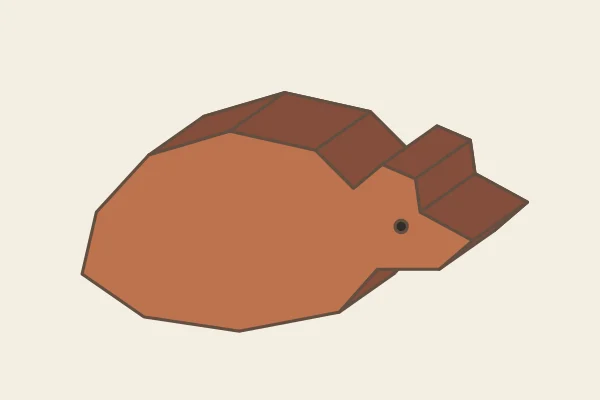
Make a sleeping dormouse in folded cardstock. Curve the band around the rounded back one crease at a time. Seat the tiny ear before the cheek.
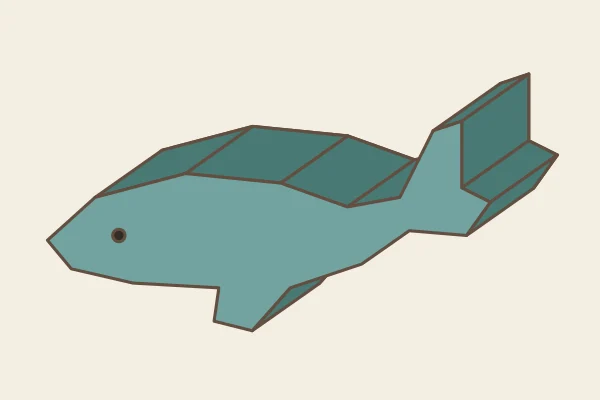
Make a humpback whale in folded cardstock. Leave the belly open while pressing the flipper tab. Check that the upturned tail sits above the back.
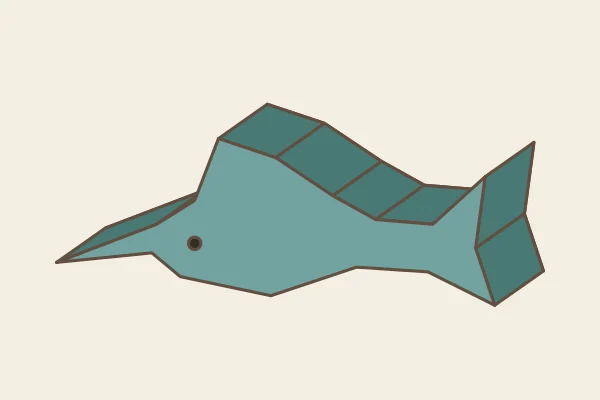
Make a sailfish in folded cardstock. Fit the tall dorsal sail first. The short inward joint at the tail is easier to reach before closing the belly.
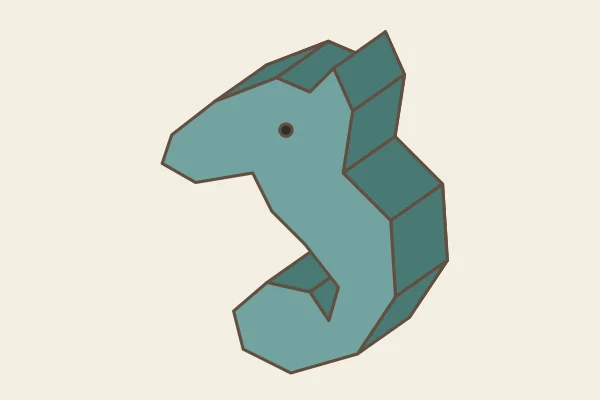
Make a seahorse in folded cardstock. Work from the snout toward the belly. Fit the inward curl of the tail before attaching its outer panels.
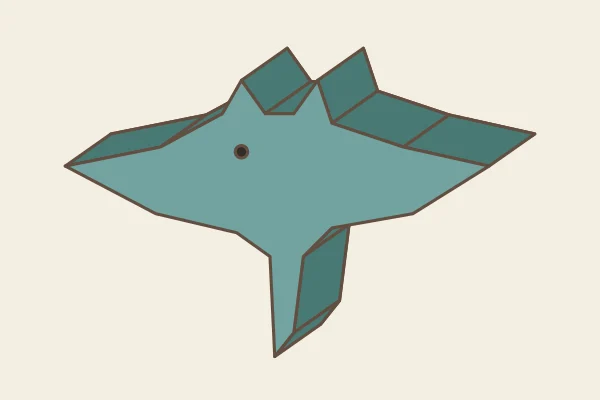
Make a manta ray in folded cardstock. Support each wide wing from underneath. Set the tail strip only after the two rear wing edges meet.
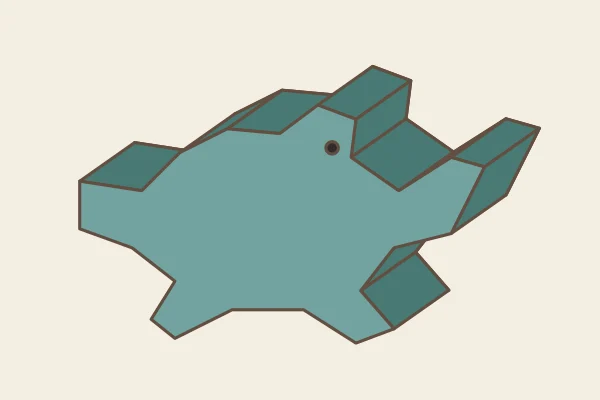
Make a sea turtle in folded cardstock. Keep all four flippers distinct by creasing their roots toward the shell before gluing the back.
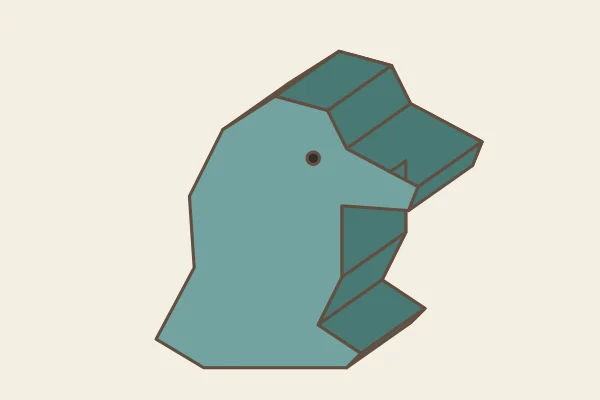
Make a standing puffin in folded cardstock. Press the broad beak seam flat while the face is accessible. Leave the feet until the last band.
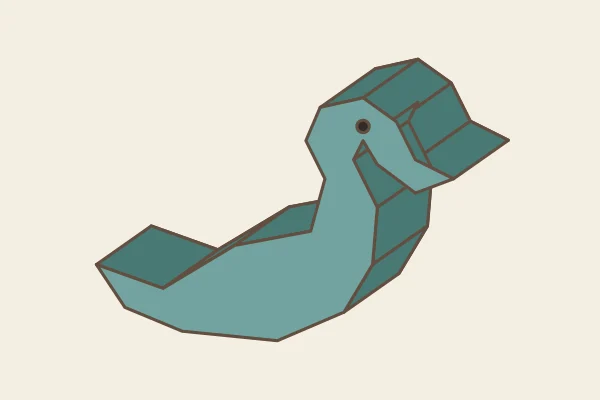
Make a swan in folded cardstock. Fit the inside of the curved neck with the back plate off. The short beak panel should meet without twisting.
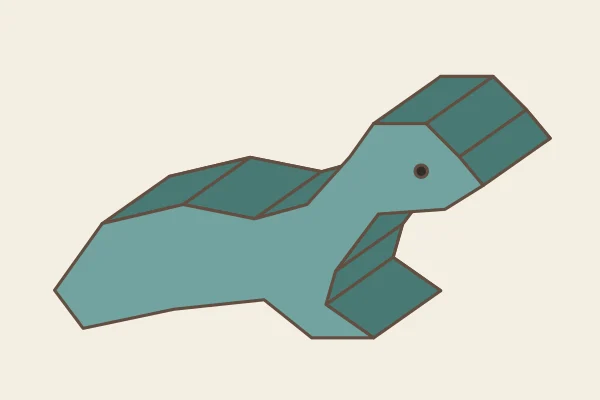
Make a harbor seal in folded cardstock. Seat the neck rise before wrapping the long back. The tucked flipper sits forward of the broad tail.
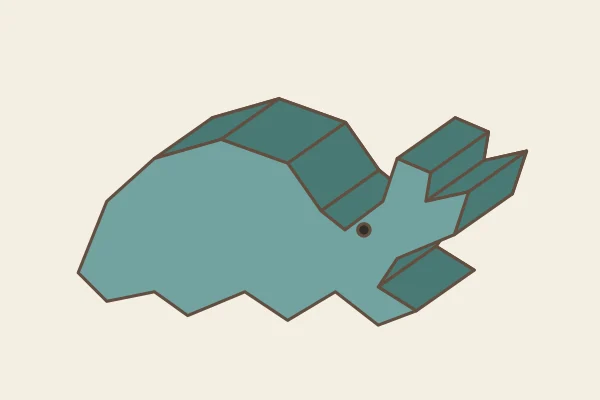
Make a hermit crab in folded cardstock. Wrap the shell dome before shaping the claw. Fold its small inside notch toward the joint.
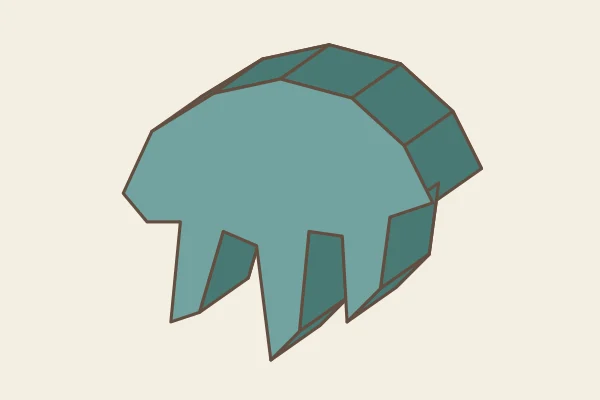
Make a jellyfish in folded cardstock. Work up each tentacle from its tip. Close the broad bell only after the narrow channels are attached.
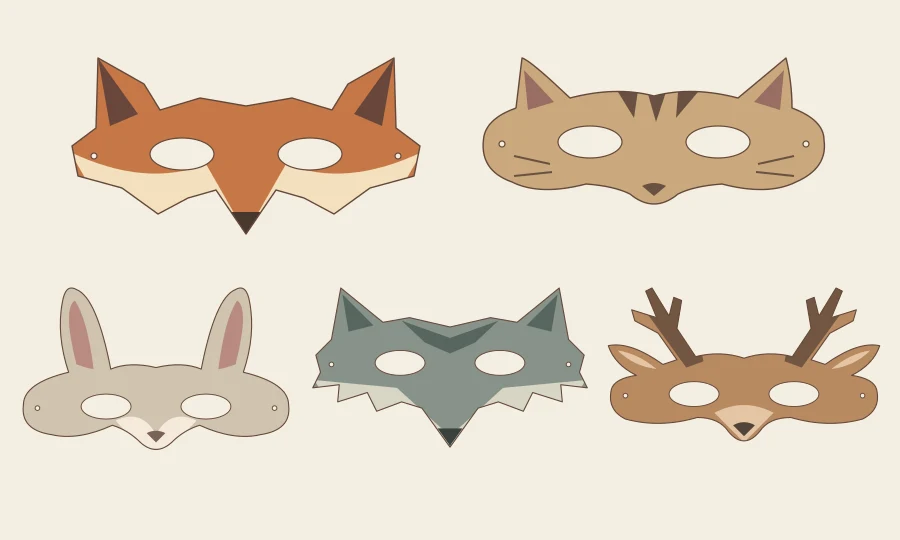
Choose a fox, cat, rabbit, wolf or deer half-mask. Each one-page PDF has its own outline, a scrap-paper eye test and two ribbon patches.
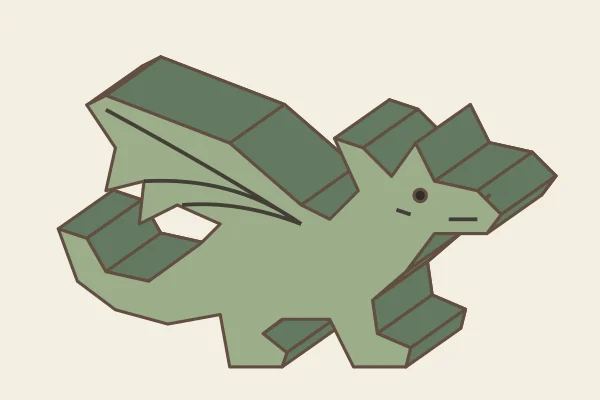
Make a winged dragon in folded cardstock. Dry-fit the zigzag trailing edge of the raised wing. Seat each inward corner before pressing the adjacent finger, and check that the two feet touch the same straightedge.

Roll six matching teardrops around a tight paper centre. The printable sheet gives you the petal positions, two coil gauges and cut lines for both colours on one sheet.
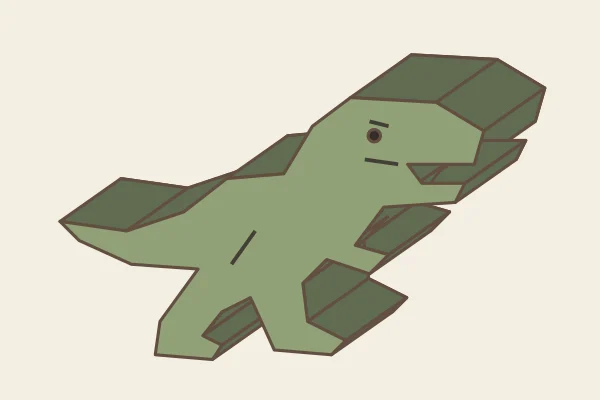
Make a t-rex in folded cardstock. Dry-fit the two jaw tips before the neck. The short forearm turns inward toward the chest. Keep both hind feet aligned while attaching the back.
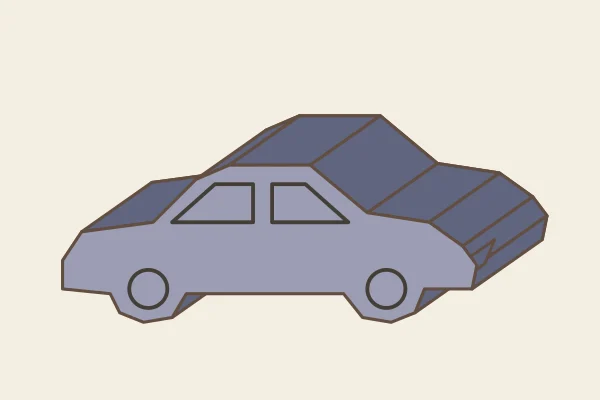
Make a compact car in folded cardstock. Fit the windscreen and roof before the bonnet. Dry-fit the panels around both wheel bumps with the front plate resting on a level surface.
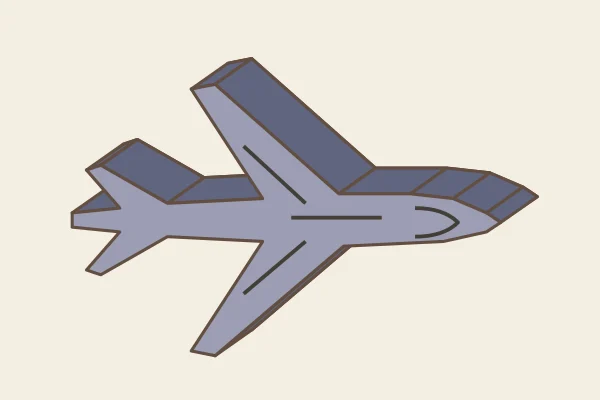
Make a 90 mm passenger jet for your desk from two sheets of cardstock. Follow the top and underside maps to match the swept wings and close the tail.
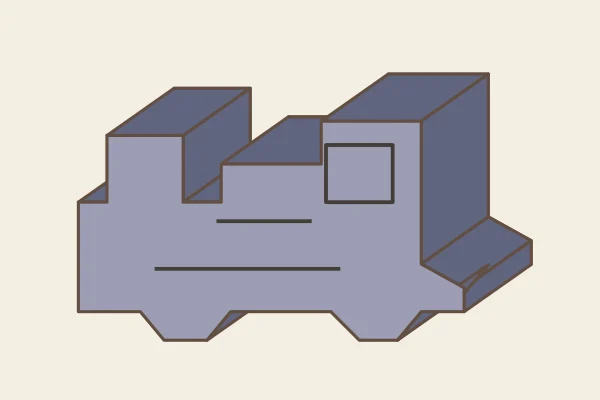
Make a steam locomotive in folded cardstock. Seat the chimney and cab steps first. Check the straight rail between the wheels before closing the underside.
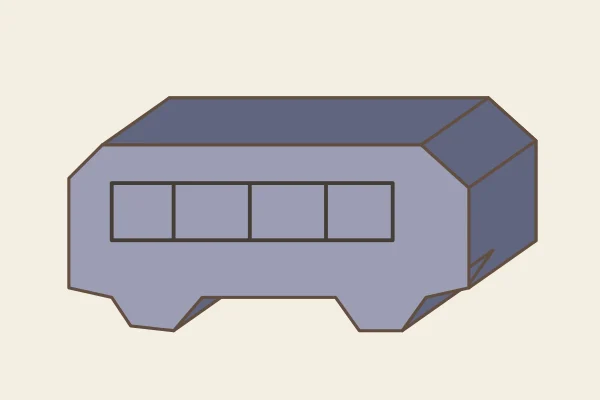
Make a city bus in folded cardstock. Fit the two wheel bumps before attaching the long roof. Keep the flat roof parallel to the window line you draw.
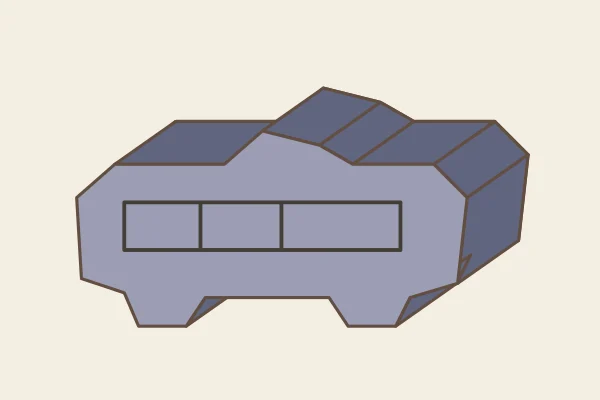
Make a tram car in folded cardstock. Wrap the small pantograph peak on the roof before the long side sill. Each axle sits beneath the body.
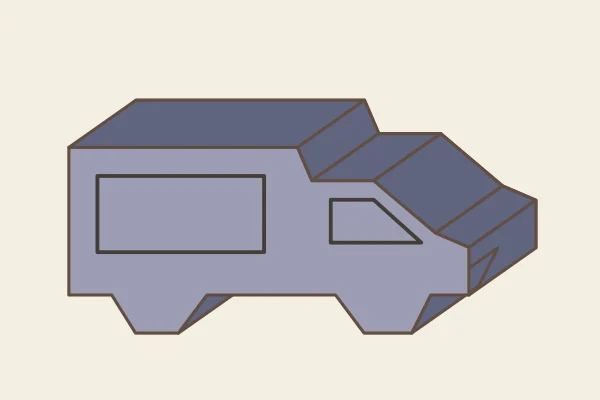
Make a delivery van in folded cardstock. Dry-fit the slope between the cargo box and windscreen. Use the square rear wall as the final seam.
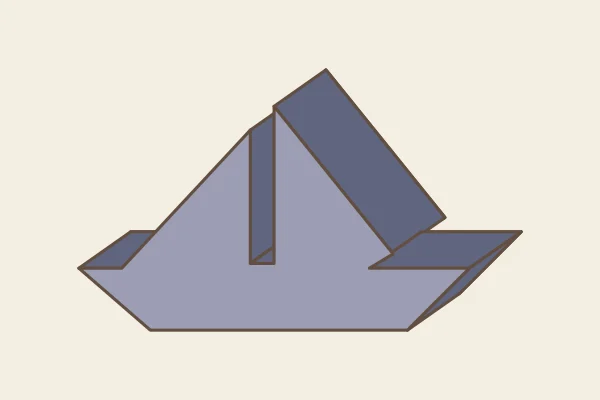
Make a sailboat in folded cardstock. Pre-crease the two sail tips separately, then seat the small gap at the mast before wrapping the hull.
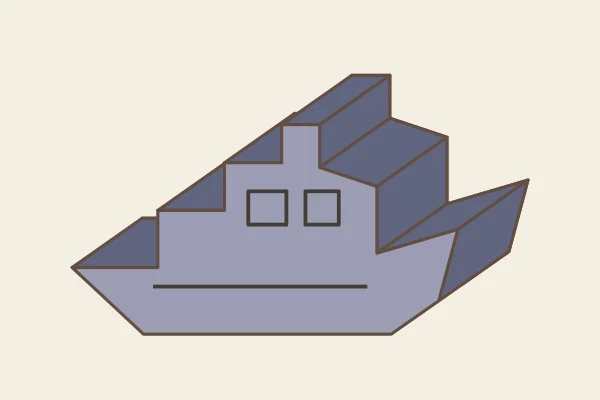
Make a harbor tugboat in folded cardstock. Start around the funnel and work down through the wheelhouse. The sloping bow should project above the waterline.
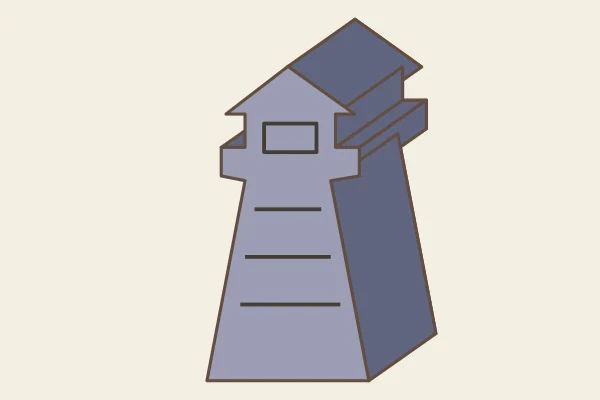
Make a lighthouse in folded cardstock. Crease the lantern ledges before joining the tapered tower. Leave the broad footing open to press the last tabs.
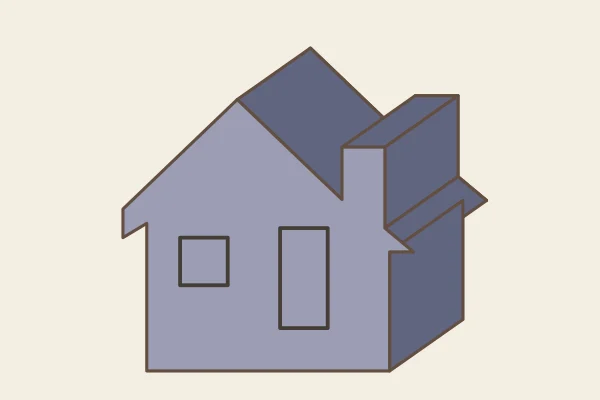
Make a gabled row house in folded cardstock. Keep the chimney sides vertical. Set the roof valley before closing the long wall at floor level.

Make a clock tower in folded cardstock. Fold from the spire toward the ledge on each side. Draw the clock face on the front before attaching it.
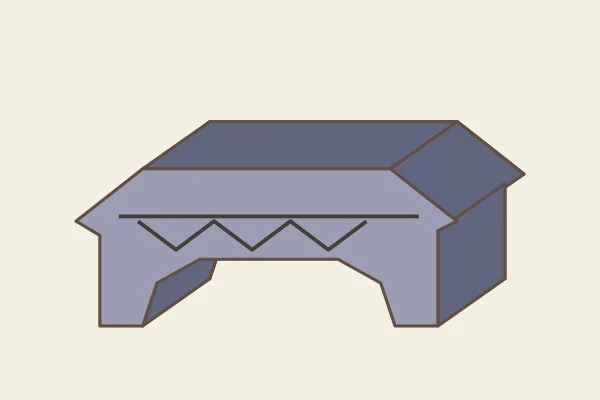
Make a covered bridge in folded cardstock. Work the underside arch from one pier to the other. Keep the two pier bases level under the roof.
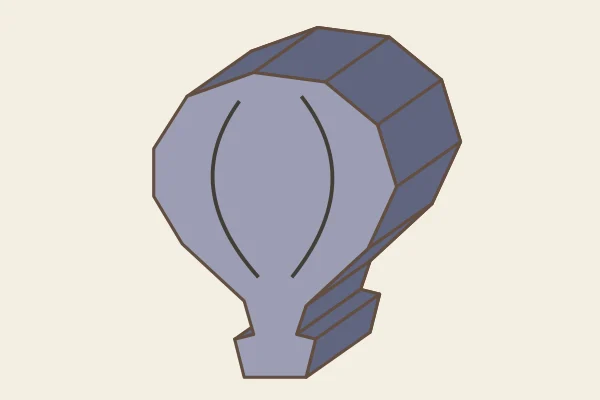
Make a hot-air balloon in folded cardstock. Fit the constriction over the basket while the back is open. Wrap the envelope from its widest point outward.
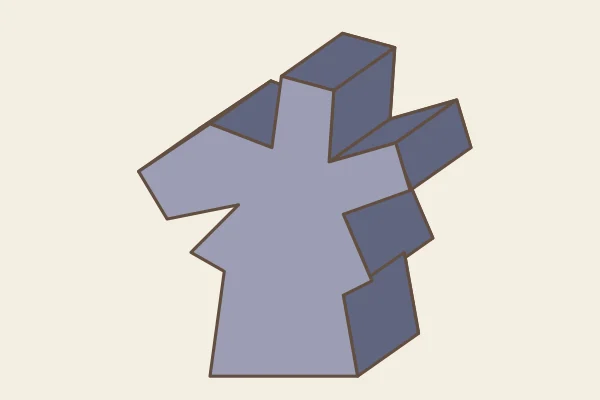
Make a garden windmill in folded cardstock. Fit the blade tips before the wider mill body. Use the flat foundation as the closing panel.
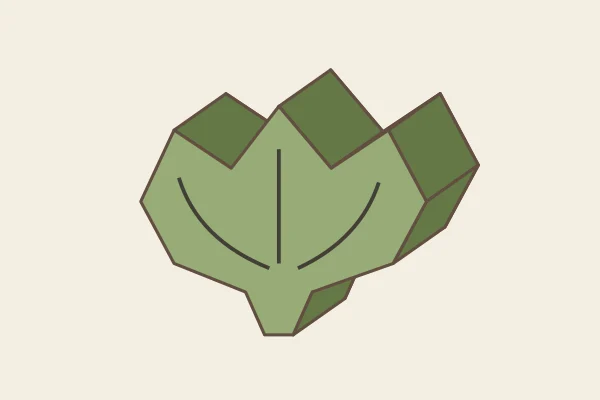
Make a flower bud in folded cardstock. Crease the hollows between petals before forming their peaks. Cup the bottom gently when setting the last tabs.
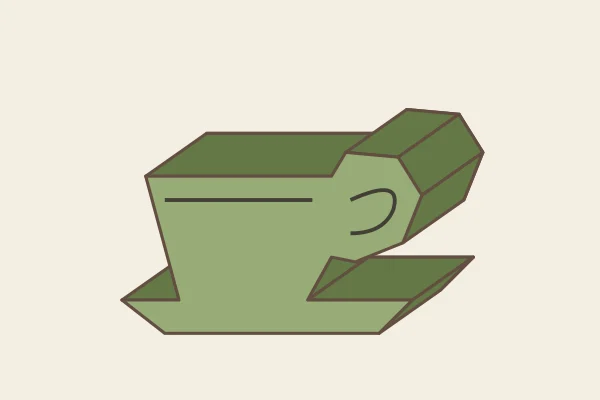
Make a teacup and saucer in folded cardstock. The projecting handle has a solid face. Draw its opening on both plates before joining the rim and saucer.
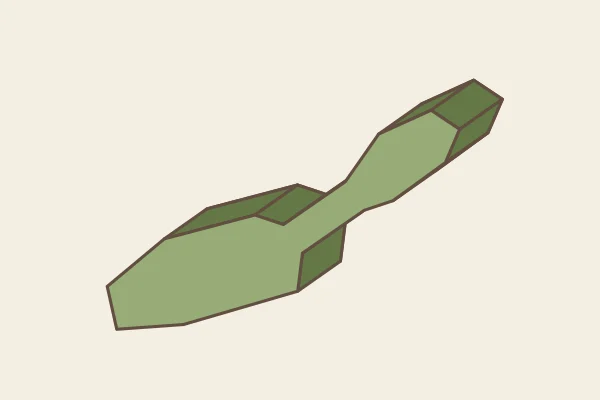
Make a garden trowel in folded cardstock. Fit the narrow neck where the blade joins the handle first. The broad blade panel can be pressed from inside.
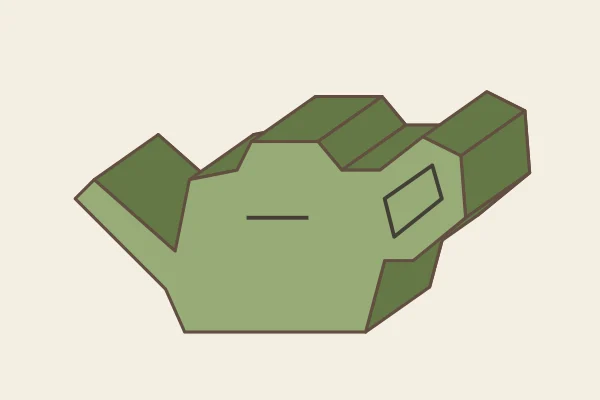
Make a watering can in folded cardstock. Start with the spout tip. The handle is a solid silhouette; sketch the opening before fitting the rear plate.
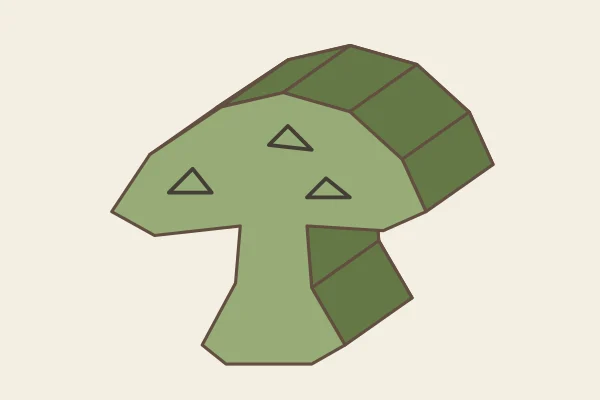
Make a toadstool in folded cardstock. Set the gill-side ledges on either side of the stem before you fold the dome. The foot flares out at the bottom.
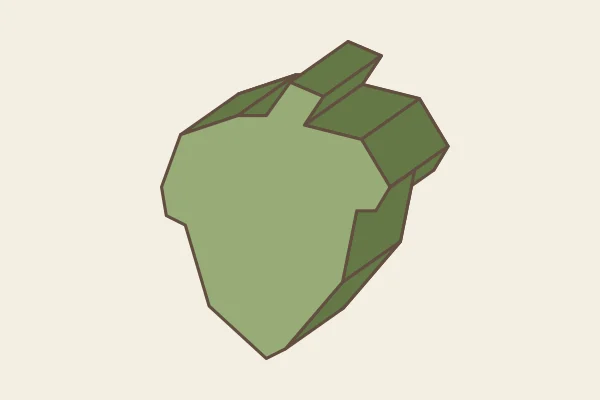
Make a acorn in folded cardstock. Fit the little stem and cap lip first. Bring both nut sides down to the single pointed end.
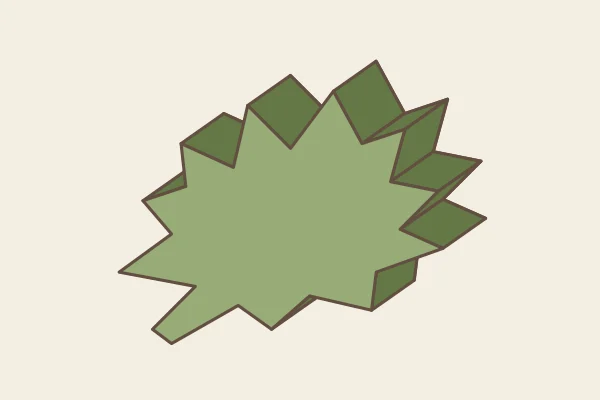
Make a oak leaf in folded cardstock. Pre-fold every inward lobe. Start near the stem and bring the band back to it after circling the leaf.
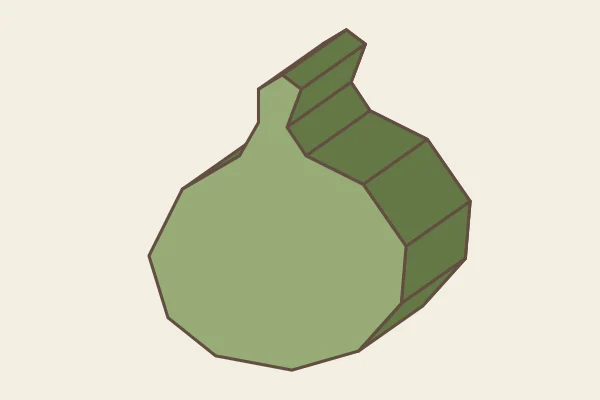
Make a orchard pear in folded cardstock. Form the short stem first. Ease the band around the broad lower fruit and press the flattest edge last.

Make a butterfly in folded cardstock. Match the wing notches in pairs. Work the small body tail before the wide upper wings.
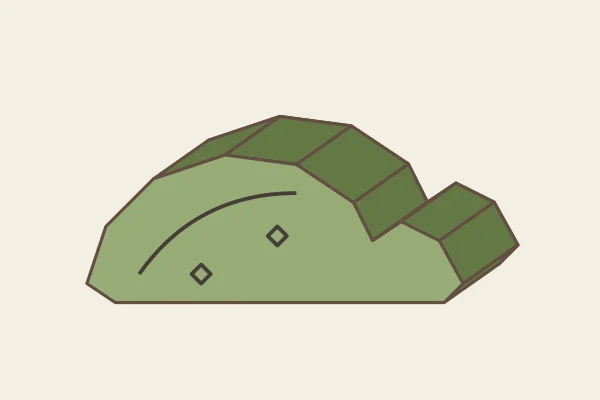
Make a ladybird in folded cardstock. Keep the flattened underside straight. Draw the wing seam and spots while the face is still flat.
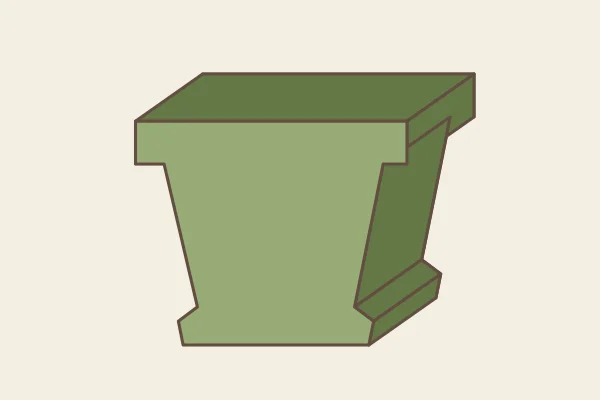
Make a terracotta flowerpot in folded cardstock. Glue the narrow lip and saucer corners first. Fit the two long tapered sides before closing the base.
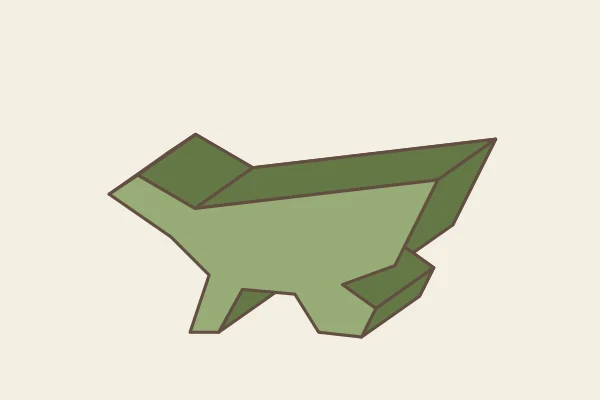
Make a wheelbarrow in folded cardstock. Shape the wheel and support before the tray. Close the tray along its long upper rim.

Start with a 144 mm circle. Four folds put twelve layers under the scissors. Each cut through the marked wedge appears around the whole snowflake when you open it.
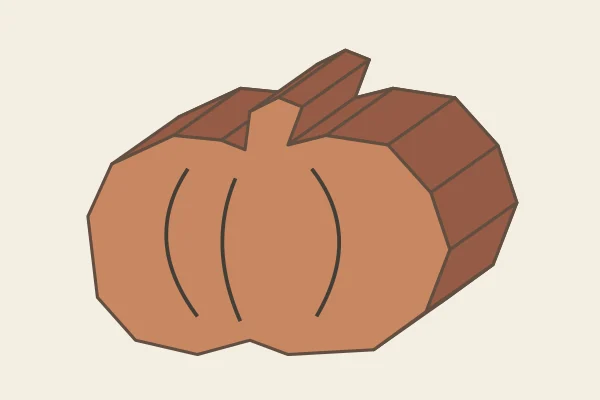
Make a harvest pumpkin in folded cardstock. Wrap the short stem first and match the indentation below it. Leave the longest lower panel loose until the lobes align.
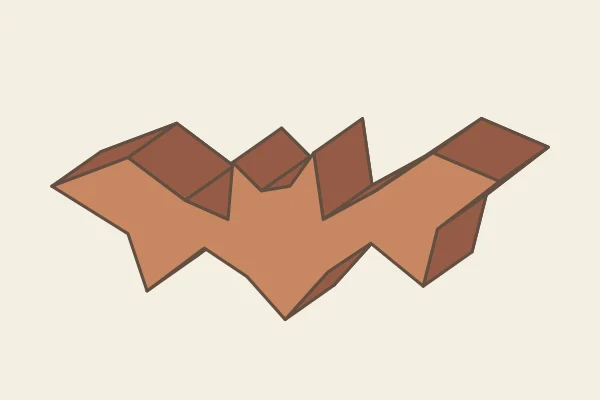
Make a night bat in folded cardstock. Work from each wingtip inward. Reverse the bend at the scallops so the wings form two matching arcs.
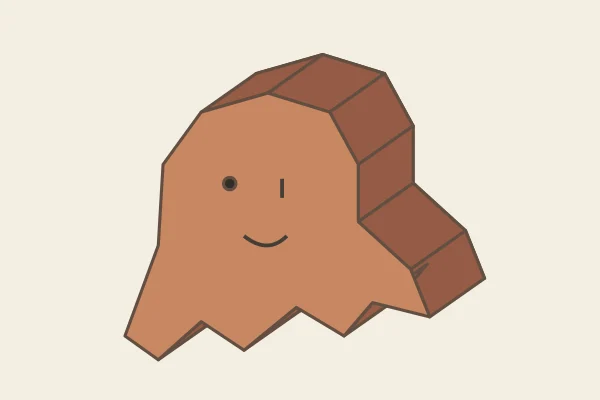
Make a floating ghost in folded cardstock. Shape the zigzag hem before covering the rounded head. Draw the expression before closing the shell.
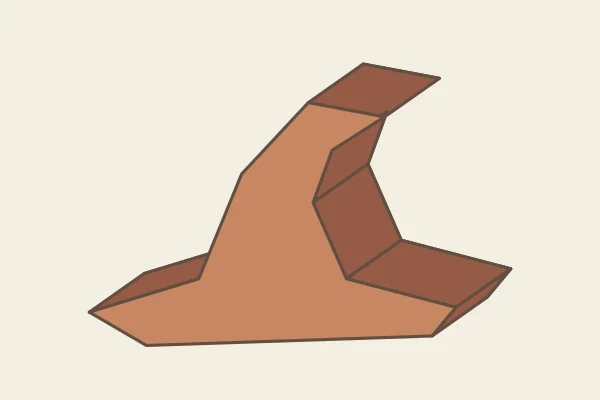
Make a witch hat in folded cardstock. Fold back the hooked crown before joining the brim. Align the long lower edge to keep the hat level.
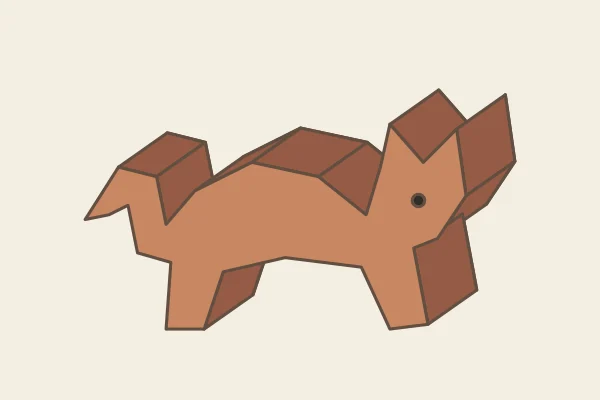
Make a arched black cat in folded cardstock. Pre-bend the upright tail and narrow ear notch. Check both feet against the table before closing the cat’s back.
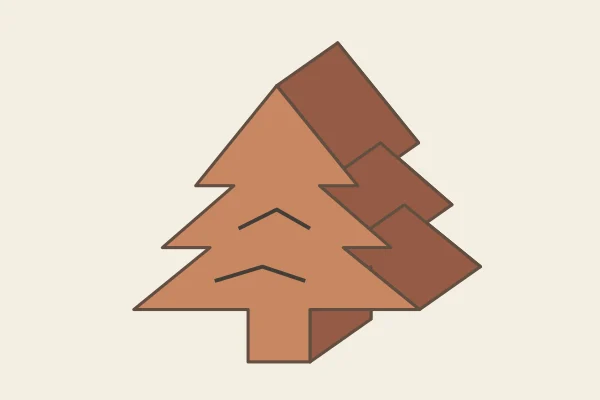
Make a winter fir tree in folded cardstock. Treat each branch tier as a separate turn. Fit the trunk before gluing the lower boughs.
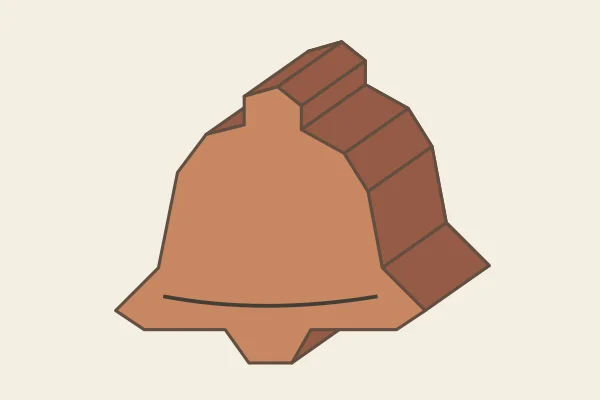
Make a winter bell in folded cardstock. Fit the clapper at the lower edge before sealing the lip. Work the small top loop while the back is open.
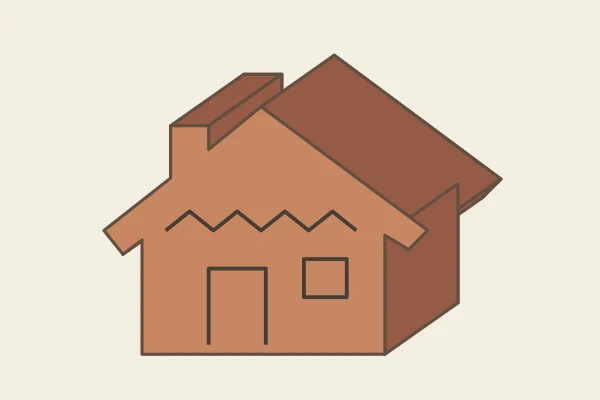
Make a gingerbread house in folded cardstock. Close the short valley beside the chimney before the roof slope. Add icing details while the wall plates lie flat.

Make a five-point star in folded cardstock. Alternate outward tips and inward valleys. Keep the first tip open until the fifth arm lines up.
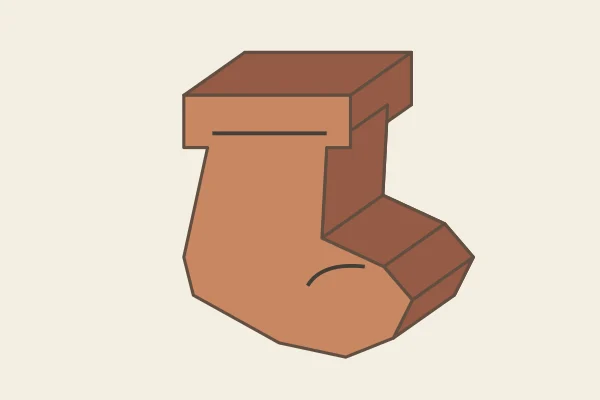
Make a hanging stocking in folded cardstock. Start at the cuff corners and work down the ankle. Seat the rounded toe before closing the heel.
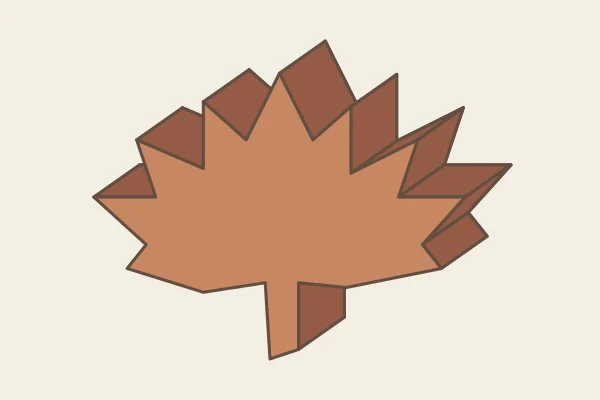
Make a autumn maple leaf in folded cardstock. Start at the stem and fold each lobe in sequence. Use the broad central point to check the front and back agree.
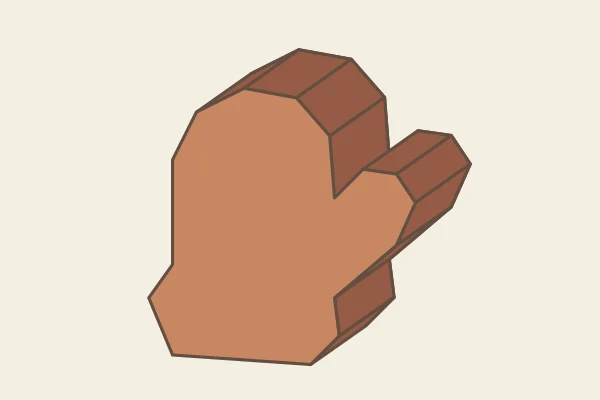
Make a winter mitten in folded cardstock. Fit the thumb crotch while you can press it from inside. Close at the straight cuff edge.
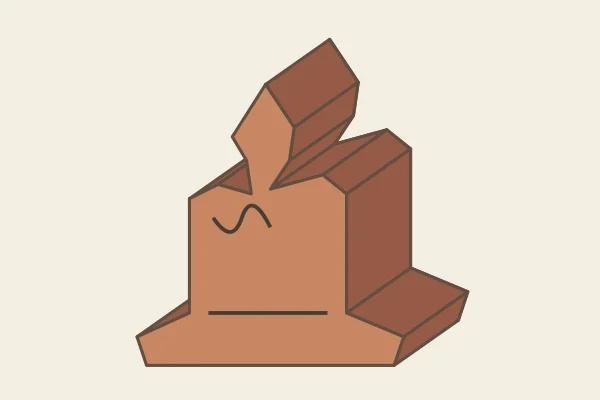
Make a winter candle in folded cardstock. Set the flame and the irregular wax rim before forming the broad candle body. The saucer closes last.