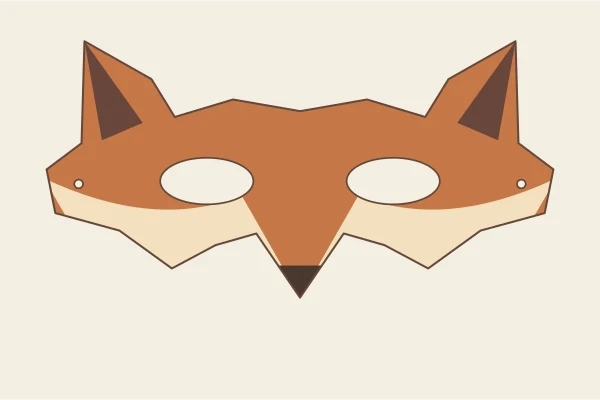
Fox papercraft mask
Keep the two points under each cheek when you cut the outline. A cream pencil along the cheeks and a dark triangle at the tip of the ridge pick out the fox’s narrow muzzle.
Choose a fox, cat, rabbit, wolf or deer half-mask. Each one-page PDF has its own outline, a scrap-paper eye test and two ribbon patches.
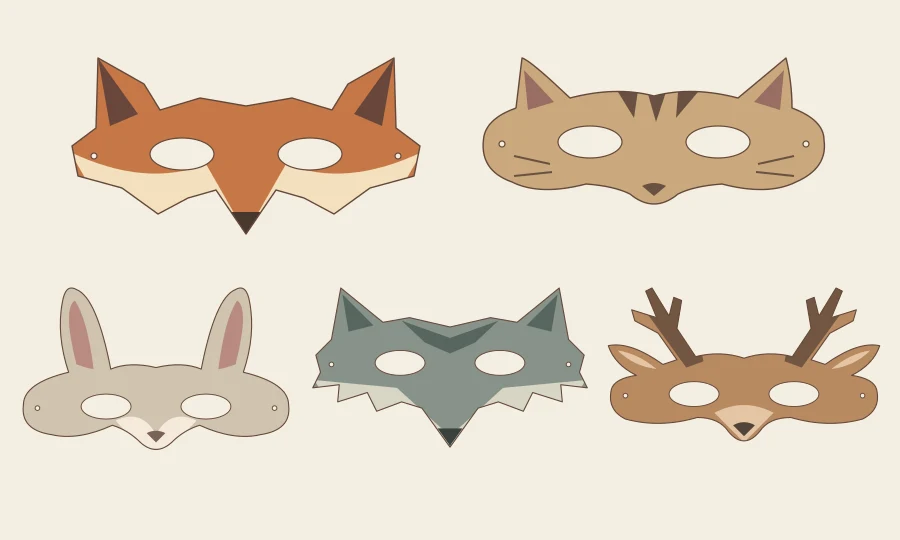
Keep the two points under each cheek when you cut the outline. A cream pencil along the cheeks and a dark triangle at the tip of the ridge pick out the fox’s narrow muzzle.
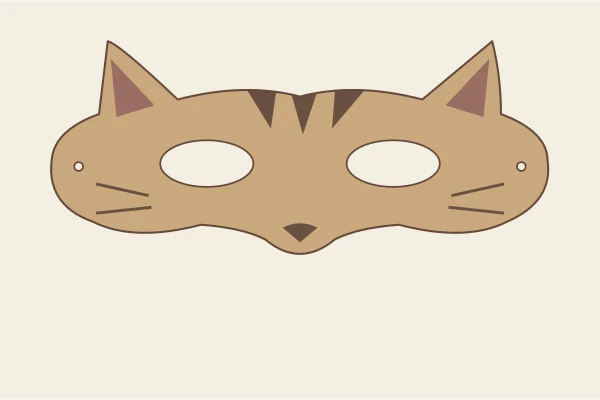
Turn the sheet as you round the cheeks. Leave the whiskers as pencil lines on the face so there are no thin strips to tear. Try three short tabby stripes between the ears.
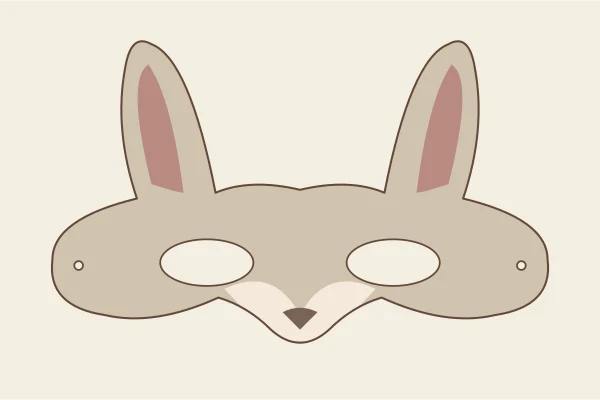
Cut each long ear in a continuous curve. Support the narrow base with a finger on the table when turning the paper. A pink inner ear can end above the bridge without crossing the eye opening.
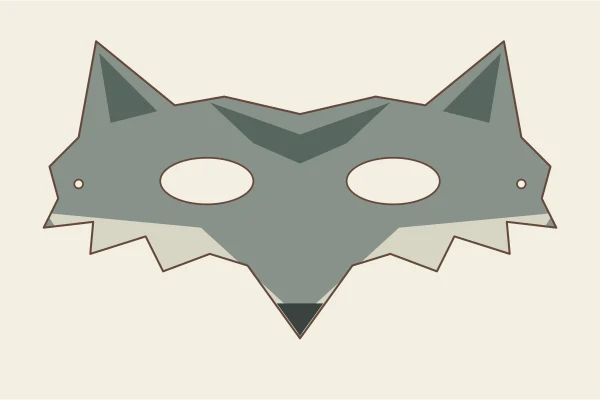
The tufted ruff has three changes of direction on each side. Cut into each inside corner from both edges so the points stay sharp. Leave room below the eyes for the long grey muzzle.
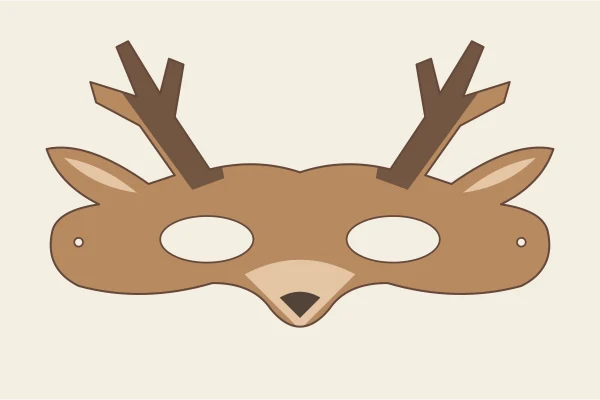
Cut the small spaces between the antler branches before freeing the wide cheeks. Support the branch you are working on and rotate the larger sheet. Keep the finished antlers flat while the ribbon patches dry.
All five designs use the same eye spacing. If the strip feels too narrow, mark where the openings should move, take it away from your face and draw the new ovals. Try that change on a plain-paper face. A crease through the bridge brings the cheeks closer together, so check it again after shaping. Use the paper copy that fits as a stencil for the final cardstock.
To keep your hands free of glue while decorating, colour the mask before adding the ribbons. Set a scrap sheet behind each eye opening when you draw up to its edge. For a hand-held mask, leave the side holes closed and glue the craft stick behind one cheek. For storage, undo the bow and tuck the ears or antlers inside a folder. The previews show the cut shapes digitally. Independent wearer fit tests are pending.