
Cut a six-point snowflake
Take a sheet of light copier paper. The printed circle folds into a narrow wedge, so one snip makes a mark on all six arms. Measure the scale before cutting. Leave the marked bridges intact.
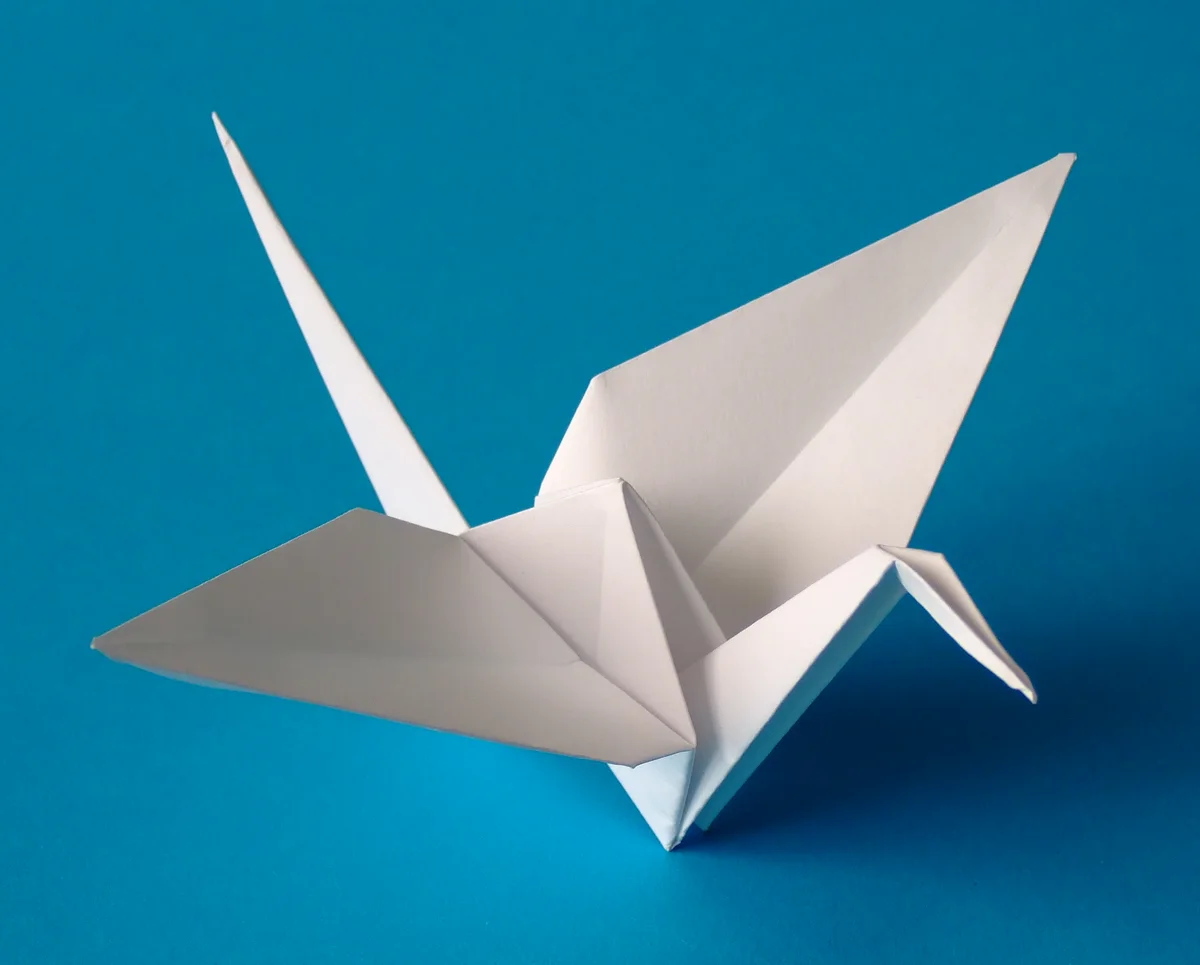
Start with a square of paper and fold a crane in 44 steps. Turn the model to see where the neck tucks between the layers, or pause at any fold to match it with the paper in your hands.
Take a sheet of light copier paper. The printed circle folds into a narrow wedge, so one snip makes a mark on all six arms. Measure the scale before cutting. Leave the marked bridges intact.
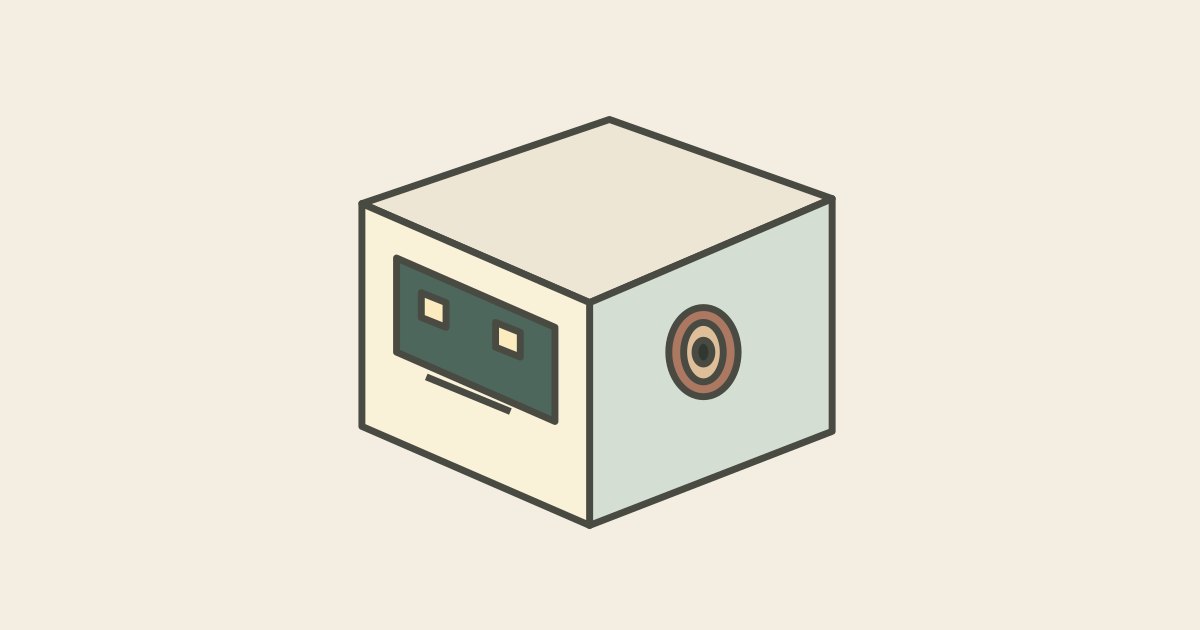
Six faces share a single net. Score the dashed lines on the whole sheet, then cut around the silhouette with all the lettered tabs attached. Fold the four walls into a ring before adding glue. Keep the eyes facing out.
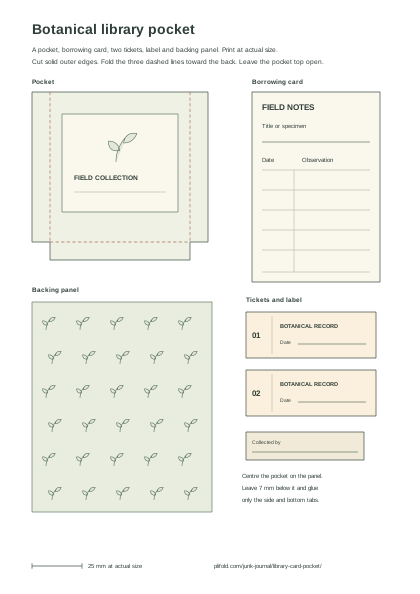
Give a bookmark or a borrowed book its own pocket. The sheet has a ruled card, two tickets and a matching backing. Fold the pocket tabs and try the card in the opening before gluing. The pocket can dry off the page.
Easy projects use a short sequence you can keep flat or fold along straight lines. Choose intermediate if you want to work with several layers, match small details or follow a thread from one section to the next.
Follow a moving fold from a blank square. Each model also has a printable step sheet.
Browse origami lessons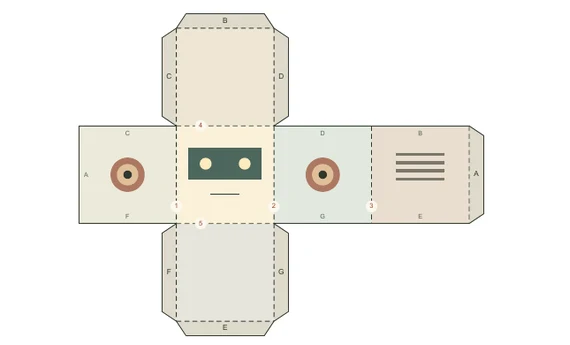
Cut a printed net, score the numbered folds and join matching tabs to make a solid form.
Browse papercraft templates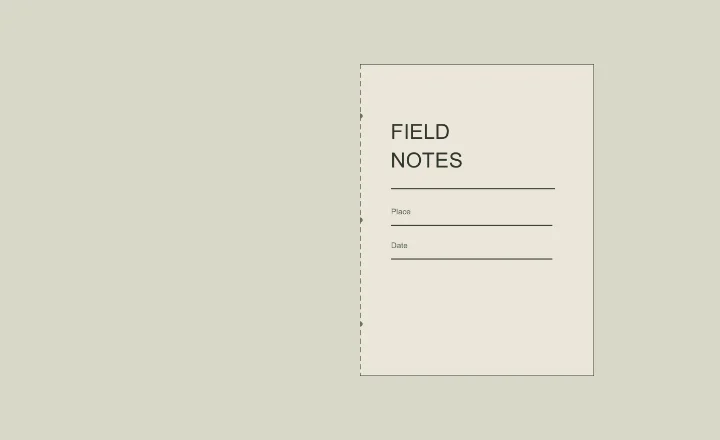
Turn saved scraps, small keepsakes and folded leaves into a hand-bound journal.
Browse journal projectsFor the paper crane, cut a 15 cm square. Bring two opposite corners together and look at the free edges before you press the crease. Trim any overhang now. It will be harder to match corners when eight edges meet later.
Paper with a different colour on each side makes a good first lesson sheet. When a flap turns over, the change of colour tells you which layer actually moved. Start with the square base to practise bringing four corners together. Then try the bird base to learn the petal fold that gives the crane its long points.
The paper snowflake template starts with a 144 mm circle on 70–90 gsm paper. Four folds put twelve layers between the blades. Hold the folded wedge loosely at its point and turn the wide end towards the scissors. Work on the marked notches one at a time, keeping the tips of the blades in sight.
Before unfolding, fan the outside edge just enough to inspect the bottom layer. If a shaded scrap still hangs by a corner, close the wedge and finish that cut. Ease the folds open in reverse order and lay the snowflake between sheets of clean paper to flatten it. Save a plain copy if you want to try a different arrangement of notches.
Try 160–200 gsm card for the robot. Measure one printed face with a ruler. It should be 40 mm on each side. Score with the blunt edge of a tool against the ruler while the surrounding sheet still supports the piece. Test the pressure on an offcut first. A good score lets the panel turn cleanly and leaves the surface fibres intact.
Wrap the robot walls into a square without glue and check the letters at the first seam. Seen from the top, opposite panels should face one another and the lid should cover the opening. To try curved walls, cut the two swept-wing plates in the papercraft airplane template. Its two numbered maps show the nose from above and underneath. The papercraft animals guide uses the same wrapping technique for animal outlines.
A library pocket gets opened every time someone pulls the card out. The botanical sheet uses 140–160 gsm paper so that the rim holds its shape. If you have patterned scraps, print the sheet on plain paper and trace just the pocket. Mark the three fold lines on the back before you cut it out. Leave space for the projecting tabs.
Long, narrow leftovers suit the quilled flower. Cut six strips of the same width and length for the petals. Let each rolled strip relax against the printed 15 mm circle before sealing the end. Compare the coils side by side, then pinch the matching pairs into teardrops.
Pick the file that matches the sheet in your tray. A4 measures 210 × 297 mm. US Letter measures 8½ × 11 inches. Open the matching PDF, select actual size or 100 percent and print a plain-paper copy. Measure its scale bar from one end mark to the other. A 25 mm bar that comes out short is a reason to reopen the print settings before using your good cardstock.
Use the same scale for every sheet of a model. Choose either format from the papercraft templates directory.
Keep the front view open when you need to match a tip to the centre line. For the inside reverse fold at step 33, pause partway through the movement and turn the 3D view slightly. Look for the gap that receives the folded point. Set the paper down in the same orientation, lift one layer and check where the tip should emerge before pressing the new crease.
The printable origami crane instructions have 44 numbered illustrations. Mark your place on the printout so you can return to a tricky fold on screen.
For loose sheets, the four-hole Japanese binding puts all four holes beside one edge. Decide which edge will be the spine before arranging writing, drawings or pockets. Clip the stack, mark its head on a scrap slip and keep that end upwards when you turn the book over to check the thread on the back.
For folded pages, the Coptic stitch guide groups eight sheets into four sections. Use the same end of the piercing guide against the head of every fold. Stack the pierced sections before threading the needle. Looking straight down the spine, you should see four aligned columns of holes. This is the easiest moment to catch a section that has been turned upside down.
For an animal half-mask, start with the scrap-paper eye strip. Cut out both ovals and hold the strip where the finished face will sit. Check what you can see through each opening. If you move an oval on your practice copy, try the full paper face with its centre crease before transferring the new eye positions to card.
For a pocket, slip the card between the folded tabs and backing. Leave enough of the top exposed to grip it. Remove the card while the tabs dry. The free junk journal printables include a matching card for this check.