Red fox papercraft template
Make a red fox in folded cardstock. Pinch the two ear tips before bringing the cheek panels down to the pointed muzzle.
- Finished size (W × H × D)
- 75 × 57 × 19 mm
- Difficulty
- Easy with careful scoring
- Cardstock
- 160–200 gsm
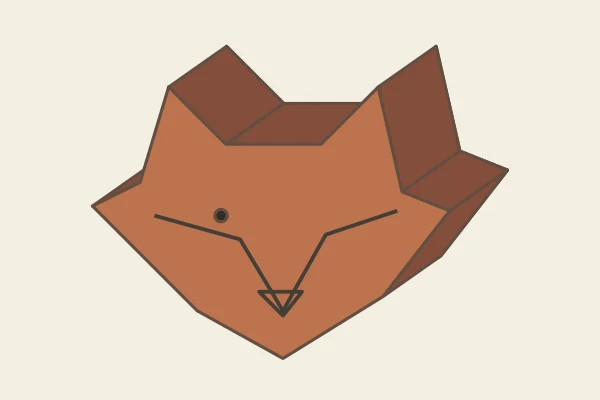
Red fox papercraft template materials and scoring
- Two sheets of 160–200 gsm cardstock, scissors, a ruler, a blunt scoring tool and paper glue.
Step by step
- Print the plates and bands. Choose A4 or US Letter, print both sheets at actual size and measure the 25 mm bar. Plate A is the front and B is its mirror. Cut both outer contours, leaving the numbered edge map intact.
- Prepare the numbered strips. The 2 strips form 11 wall panels. Score every dashed line while the sheet is flat, then cut the solid outline around each strip, keeping the two rows of tabs and the end flap. Edge 7 is the shortest at 10.8 mm. Pinch that crease against the ruler.
- Fit the front profile. Pinch the two ear tips before bringing the cheek panels down to the pointed muzzle. With the printed strip numbers facing inside, match panel 1 to edge 1 on the map. Glue one row of tabs to the inside of A, working around the numbered outline. Join the end flaps behind the next strip.
- Close the back. Use plate B to check the fit before adding glue. Fold the free row of tabs inward and attach B in short sections. Check that the finished piece is 19 mm deep at both ends. Add drawn details to the face if desired.
Planning the red fox build
The finished piece measures 75 mm across and 57 mm high when you look squarely at the front. The side wall adds 19 mm of depth. Set the front on plain paper and turn it until the head reads clearly. Trace just the tightest change of direction onto an offcut. Fold a practice wall around that trace to see how much of the adjoining edge you can hold without covering the next number.
Allow about 30–50 minutes of hands-on work as a planning estimate, plus drying time for your glue. There are 11 numbered wall panels to bend. If you are new to cutting models, begin with the front and leave the side strips for a second sitting. Keep the edge map on the table between sessions so you can find your place again.
Reading the edge map and checking the fit
Choose the file that matches the paper loaded in your printer. Both editions give the same finished dimensions. If the scale bar is short, turn off fit-to-page and print again before cutting anything. For a colour finish, test a pencil or marker on the unused margin. Some markers bleed through card and can hide the scoring marks on the other side.
For this outline the bands cover edges 1–8, 9–11, in that order. Together they travel approximately 219 mm around one face. Separate the bands one at a time. Write their first and last numbers on scrap slips and lay the strips beside them. A slipped strip can look almost right until you reach a corner that bends the opposite way.
Edge 11, about 31.1 mm long, is a useful straight reference. Lay that panel against the matching line with no glue and hold both ends level. Then try edge 7, only 10.8 mm. If that corner springs open, deepen the score on the waste side of a test strip and try the same pressure on the real hinge.
Finishing the red fox and correcting a twisted seam
Use the pointed muzzle as a centre mark and leave a pale patch on each cheek. Lay the unglued face on the table to draw from the ear roots toward the nose.
Place the unglued back over the standing walls and sight along the long reference edge. If one end lifts, trace the numbers back to the last joint that sits flush. Check the band order and fold direction there before pressing the back down. Allow the adhesive to grab with both plates parallel. A control print and digital assembly view are available here. A learner build with paper is still pending.